Last Updated on April 2, 2023
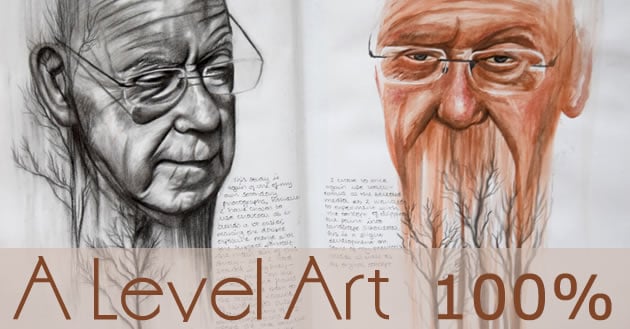
Emily Fielding gained 100% for A Level Art Edexcel, while studying at Kennet School, Berkshire, England (2014). Emily shares tips and advice for students who are sitting the A2 Art exam.
Some of Emily’s sketchbook pages are included in our new book: Outstanding High School Sketchbooks. This book has high-resolution images so that fine details and annotation are clear, making it an excellent resource for students and schools. Learn more!

The inevitable exam season quickly falls upon students, as the pressure heats up in your final year of A Levels. The exam paper is released and the dreaded short time-frame to produce your project can feel like only 5 minutes! But, there are ways to make the most of this exam – to show off your skill and potential, as well as turning it into a project that you actually enjoy.

As always, themes can vary. Most of the time, in the final year of A Level Art, your exam is a chance to show off what you can do without many restrictions. So why not select a theme that really interests you? It seems like a simple and obvious tip, but it is surprising how many people try to push projects in a direction that is ambiguous. This uncertainty can mean struggling to create a good project. For my A2 Art exam, I was given an exam paper with the title ‘Flaws, Perfection, Ideals and Compromises’. My teacher suggested just focusing on one of these titles, or – at a stretch – even two, if they worked well together. ‘Flaws’ and ‘perfection’ were the ones that stood out to me, as I began to brainstorm ideas. Any brainstorming or thinking processes that you go through to make a decision about your project can be recorded – you may even turn this task into a drawing itself (see examples of creative mind maps). One thing that I would also suggest, before settling upon a definite theme, is to spend a day or two doing in-depth research of some artists, so that you have a good idea of the directions that you could take your project.
Research is a massive part of any Art project, particularly in an exam. An important part of your research is observational studies, related to your theme. A big mistake that some students make is sticking to just one form of media because they consider this to be their strongest skill. Yes, you show off your talents – but risk taking is advantageous. This is a great opportunity to improve your skill set and become more confident in different areas of art. If you want to show off, say, your ability with pencils – then do it! But just don’t forget about other mediums that want some attention in your project.
And then comes the artist research! Make sure you have thoroughly thought about why you want to select certain artists (and explain this in your annotation). It is all very well with their work having a clear link to your theme, but if you can’t interpret it into your own style and develop ideas from this, then stay clear of researching them. There is nothing worse than hitting a wall when it comes to responding to an artist! It may be helpful to research three or four artists throughout the whole exam (I personally conducted three in this exam, as I was aware of the short time frame and what I felt was doable). In terms of the layout of my exam preparation, I analysed three artists in one chunk, then moved on to doing development and personal response. I felt this was the easiest way of going about it. Artist responses can take up a lot of time and I didn’t want to reduce the quality of my research by rushing through it.
Before I began my artist response, I completed an artist comparison. I made a simple Venn diagram, in which I wrote information about each artist – methods, materials, subject matter etc. It was a clear way for me to start thinking about how I could create my own compositions using each of their styles, but it again created a clear line of thought to present to the teacher/examiner.

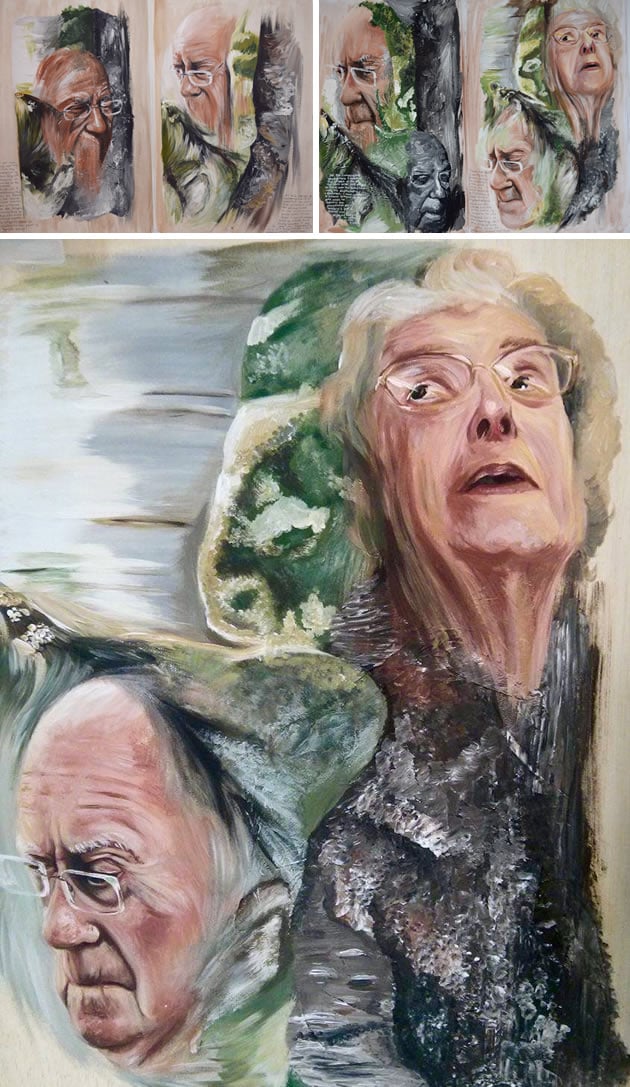
My selected artists for this exam project were: Sophie de Oliviera Barata – a 3D sculptor who creates artistic fake limbs, Jenny Morgan – a painter who builds up and removes layers of her portraits and Annemarie Busschers – who composes portraits upon unusual backgrounds, such as wood. I really wanted to push my own skill level as well as encourage experimentation and risk/taking – I knew this would make my project more successful, plus I was lucky enough to have the materials available to me at my school to make this a reality. I put aside one week at the beginning of my project to complete this artist research (setting goals is a great way to make sure you get things done). Personally, I thoroughly enjoyed creating research pages for this project, as well as creating a study of each artist’s work (this helped to give me an understanding to the process they go through).

To help show ‘context’ in my A Level exam project, I referenced specific historical painting methods and movements such as ‘underpainting’ and Surrealism. Introducing a little bit of history helps to bring an academic element to your project, expressing not only your talent with Art, but your knowledge of the subject.
I think it can be quite easy to let the stress of the exam and limited time-frame get to you, which is when you stop enjoying your project. One tip that I kept reminding myself of was – ‘how can I make this page in my book more exciting?’ I wanted to have a project that I loved and looked at with fondness when I flicked through the pages. More times than not, if you love and are confident of your own work, so will your teachers, examiners and others. Try using this in your own work and you will be surprised with the improvement it makes in your presentation.
I then began the section of my project where I responded to the artists and developed my own compositions. I began by creating some more observational studies – both first-hand as well from my own photographs. I conducted some of my own photo-shoots in relation to each artist, which shows independent research in contrast to always relying on Google! I experimented with using my own photographs and creating compositions mimicking the style of the artists, also creating a larger scale piece for each artist (three in total). This again shows a willingness to push your personal comfort zone as well as being able to manage your time effectively. At the end of each artist response, I also wrote a short review, linking back to my initial project brief and discussing what I was thinking of doing next.

Once I created my initial responses, I began experimenting with materials, developing my ideas towards my final composition. I spent time transforming my favourite drawings/paintings using gesso, screen printing, embroidery, water colours, charcoal, paper mache, painting on top of tissue paper and wood, impasto and even alginate which I used to make a cast of a hand. If you are really struggling with coming up with an idea for a composition, experimenting with loads of different materials will help give you ideas that you would have never have thought of otherwise.

After I had experimented with my images, I began to know which images were my favourite and what I wanted to include in my final composition. I began to expand my idea by considering what background I wanted to use as well as thinking about how it could link back to my artist research. I experimented with texture, lighting and, of course, how a portrait could merge into the background. Each step I recorded, to show the development of ideas.

Finally, one last thing: annotation. Discuss the materials you used, the composition, the method, the emotion behind the image, the colours, if it worked out how you wanted, mistakes, everything. The more, the better. It shows you understand what you are doing and want to do to improve and develop. Reflection is just as important as your art skills!
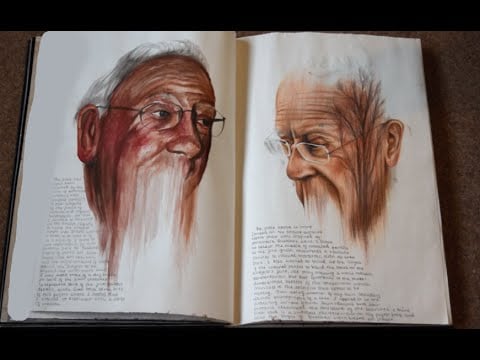
Emily’s A Level Art exam can be viewed in its entirety in the following video:
Some of Emily’s sketchbook pages are included in our upcoming publication: 100 High School Sketchbooks. You may also be interested in her 100% A Level Art Coursework project!


